Friday, November 28, 2014

Before & After Projects

Today, I have a few new Before & After projects to share with you! There are so many ways to use the Amy Howard At Home products to Rescue, Restore, and Redecorate your furniture.

Chair
Before:
After:
This piece was painted with the Linen One Step 
followed by the Remis Grey Toscana, 
the chair was then antiqued with 
the Light and Dark Waxes as well as the Dust of Ages.

Chairs
Before:
After:
Operation Magpie shared that they used the One Step 
to restore these chairs.
They then finished the chairs by waxing them with the Light wax

Small Side Chest 
Before:
After:
This little side chest was restored with the French Blue and Atelier One Step colors.
It was then finished with the Light wax


Rescue, Restore, Redecorate™

Wednesday, November 26, 2014

Creating Colored Waxes with Milk Paint and Clear Wax


Did you know you can mix colored milk paints with clear wax to create an almost infinite number of furniture waxes?


I invite you to watch this video to see how easy and fun it is!


Materials list:
Toscana Milk Paint
Clear Wax
Carved Trim Pieces
Plastic "drywall" Spatula
Cardboard
2" Flat China Bristle Brush
Lint Free (T-Shirt) Rags


Rescue, Restore, Redecorate™


Tuesday, November 25, 2014

One Step Color Mixing

I love to mix new colors using the One Step Paint®. I wanted to create a dark pistachio green so I mixed together the Palm Beach, Rugo and Get In Gear to create this beautiful color. 

Color Mix:

3 parts Palm Beach + 2 parts Rugo + 1 part Get In Gear

Inspiration:
Great green yet neutral bedroom
Antique chest
Bathroom vanity
Paint your chairs with the One Step Paint
Beautiful velvet chair as an accent in this bedroom
Kitchen cabinets are a beautiful way to bring in color
I know this is a little bit lighter but I love this beautiful pistachio green cake plate.


Rescue, Restore, Redecorate™

Friday, November 21, 2014

Before & After Projects

Happy Friday and I hope you are looking forward to a great weekend ahead! I am always excited to share with you each week, a new set of Before and After projects we have received from our customers. I hope you are inspired to take on your own project!

Bench
Before:
After:
Adagio Antiques
This bench was painted with the 
Amy Howard at Home Ballet White One Step Paint®.

Vintage Typewriter Table
Before:

After:
Simple Vintage rescued two vintage typewriter tables 
using the Amy Howard at Home High Performance Lacquer®. 
The retailer shared with us "Another creative & gorgeous Before/After from my good friend Scout & Tag...Pair of Vintage Typewriter Tables refinished with our Amy Howard at Home High Performance Furniture Lacquer in Belgium Blue & accented with Citron. Forgettable to Fabulous! {be Inspired}
#‎enjoythebraggingrights‬ ‪#‎rescuerestoreredecorate‬ ‪#‎craftingabeautifullife‬‪ #‎scoutandtag‬ ‪#‎simpleVintage‬ ‪#‎beinspired‬"

Side Table
Before & After:
One of our retailers in Birmingham shared that they used the Linen One Step® to rescue this table.

Vanity
Before & After:
One of our retailers shared that they used the Bauhaus Buff One Step® to rescue this floor. Clark said "Bauhaus Buff worked like a charm on our sun porch floors. Old oak parquet transformed!"


Rescue, Restore, Redecorate™
www.AmyHowardAtHome.com

Thursday, November 20, 2014

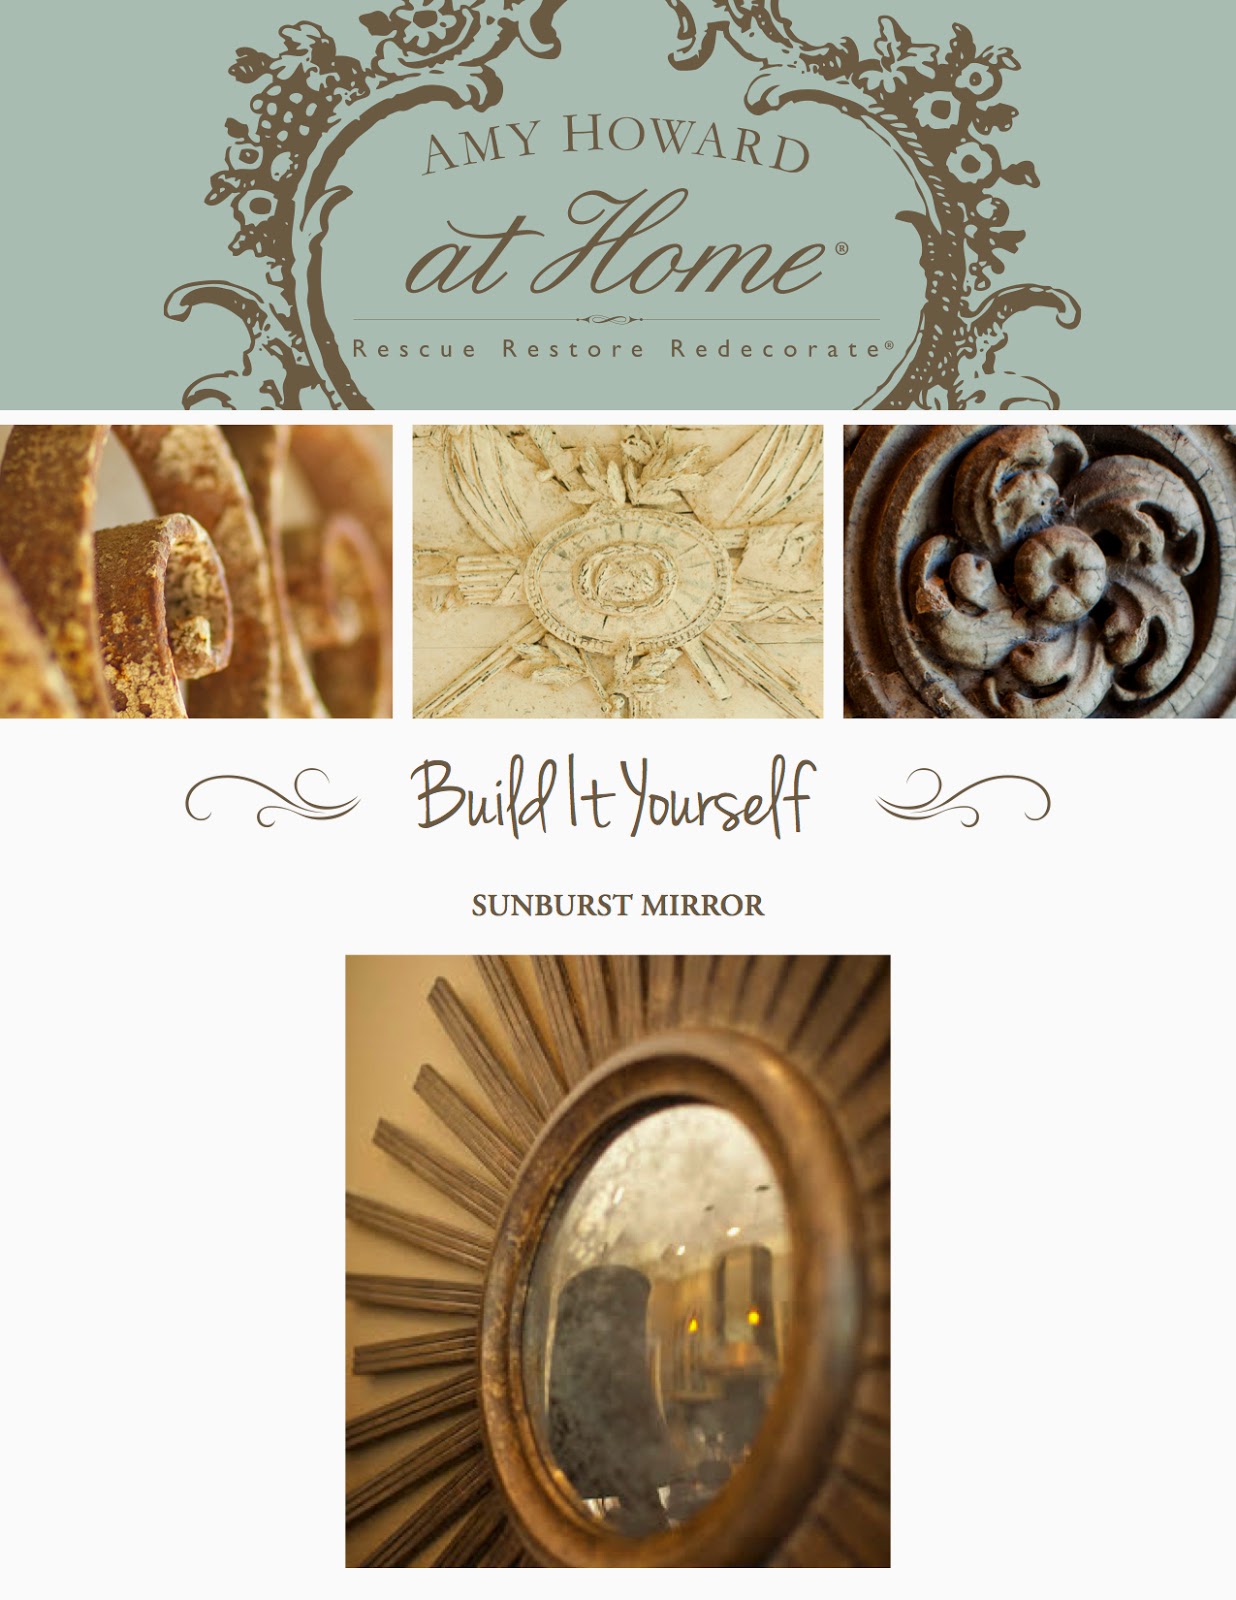
Build it yourself : Sunburst Mirror


I am excited to share with you another one of our Build It Yourself  (BIY) projects! I have provided instructions to create the frame where you can then inlay your antiqued mirror.


https://www.dropbox.com/s/7tw45bx3g14sscu/BuildItYourself_Sunburst%20Mirror.pdf?dl=0


Materials Needed:
1⁄4” Plywood
1 1/2” Poplar Planks
1 1/4 ” Poplar Planks 
Router
3 Flute Bit 
Flush bit 
Round Over Bit 
Butterfly Bit 
Rabit Bit 
Table Saw 
Jigsaw 
Miter saw 
Staples 
Stapler 
Wood Putty 
Wood Glue 
Sandpaper 
Tape Measure


Your beautiful finished mirror!

Related How To Instructions: Antiquing Mirror


Rescue, Restore, Redecorate™
www.AmyHowardAtHome.com

Wednesday, November 19, 2014

Antiquing Furniture with Milk Paint and Antiquing Glaze


I invite you watch this fun video where I use Antiquing Glaze with Toscana Milk Paint to antique a drawer from a Diamond Chest.

Materials list:
Toscana Milk Paint
Legno Gesso
Antiquing Glaze
2" Flat China Bristle Brush
2" Round Hog's Hair Brush
Light Antique Wax
Dark Antique Wax
Lint Free (T-Shirt) Rags
Natural Sea Wool Sponge

Tuesday, November 18, 2014

One Step Color Mix to Make Teal

"Teal is a low-saturated color, a bluish-to dark medium, similar to medium blue and dark cyan. It can be created by mixing green with blue into a white base, or deepened as needed with a little bit of black or gray color. The complementary color of teal is coral. (Which was on the blog last week) The first recorded use of teal as a color name in English was in 1917."

As seen in the Pantone's Fall 2014 color palette, bright cobalt has a little bit more blue but I wanted to create a beautiful teal color to fit in with the fall fashions. 

Color Mix:
To create this One Step Paint mix, 
I combined 2 parts Cherbourg, 2 parts American Dream, 1 part Get in Gear and 1 part Black.

Inspiration:
Gorgeous used as a wall color
Add an accent color for the back of your bookshelves
Kitchen cabinets

Beautiful tone on tone with the walls and cabinet
Kids Room
I love the addition of color to this white bathroom
This wall color looks gorgeous with the white ceilings and green 


Rescue, Restore, Redecorate™
www.AmyHowardatHome.com


Friday, November 14, 2014

Build It Yourself: Antique Mirror Tray

I am excited to share with you one of our Build It Yourself projects. Today, you can build your own Antique Mirror Tray using the Amy Howard at Home Antique Mirror Kit. I have provided instructions to create the tray where you can then inlay your antiqued mirror.


Materials Needed:
1⁄2” Plywood: 1 sheet 3’ x 3’ 
1⁄2” Poplar: 1 sheet 3’ x 3’ 
1⁄4” Round Over Bit: 10 ft. 
5⁄8” Pin Tacks 
1 1⁄4” Brand Nails 
Wood Putty 
Wood Glue 
Sandpaper 
Hammer 
Miter Saw 
Router & Flush Cut Bit 
Table Saw 
Jig Saw 
Tape Measure

Your beautiful finished tray!


Additional How To Instructions: Lacquer and Eglomise


Rescue, Restore, Redecorate™
www.AmyHowardAtHome.com


Thursday, November 13, 2014

Before and After Projects

Today, I have a few new Before & After projects to share with you! There are so many ways to use the Amy Howard At Home products to Rescue, Restore, and Redecorate your furniture.

Fireplace Mantel
Before:
After:
This piece was painted with the Luxe Grey One Step 
followed by the Light Wax and Dark Wax.


Side Table
Before:
After:
This little side table was restored with the Black One Step.
It was then finished with the Light wax
The piece was also detailed with the Gold Gilding Supplies.


Corner Table
Before:
After:

K & N Hunt Treasure
This corner table was rescued with the Eggplant Lacquer.


Chair
Before:
After:
Operation Magpie shared that they used the Charm School One Step 
to restore this chair.
They then finished the chair by waxing it with the Light wax


Rescue, Restore, Redecorate™

Tuesday, November 11, 2014

One Step Color Mix: Orangey Coral

The One Step Paint® is a great product to mix to create any color! Although there are many color options, I love to make my own versions though color mixing. For this mix, I used three parts Massey Hill plus one part Table for One plus one part Charm School. I was looking to create a orangey coral color.

Color Mix:

Inspiration:
Beautiful accent wall
Gorgeous wedding bouquet
Chest that looks great with the gold hardware
Painted headboard
Again another accent wall with shelving 
Fun painted frames for a kids bathroom
I love this color combination!


Rescue, Restore, Redecorate™