
Materials Needed:
2 Different colors of Amy Howard At Home One Step Paint
Amy Howard At Home Cracked Patina
Piece you are finishing
T-shirt Rags
China Bristle Brushes
Amy Howard At Home Clear Wax
Amy Howard At Home Dark Wax
Amy Howard At Home Dust of the Ages
How to Instructions:

Apply your One Step Paint to any surface.

Your ending strokes should be long and with the grain of the piece you are painting.

Let it Dry!
Once the first One Step color top coat has dried,
you need to lightly sand with 320 grit sandpaper.

Apply the Cracked Patina.

Be sure that the coat of Cracked Patina is consistent and spread out.

Spread evenly and not too think.


Let it dry for at least 30 minutes.


.JPG)
Then you will apply your second color of One Step Paint.
We used Linen for this example.


Apply quickly as the reaction begins when the paint begins to dry.

Make sure to have 100% coverage of your paint color.

Once it is fully covered, watch as the patina drys for about 3 to 5 minutes.

You should be watching for the cracking effect of the paint and patina.

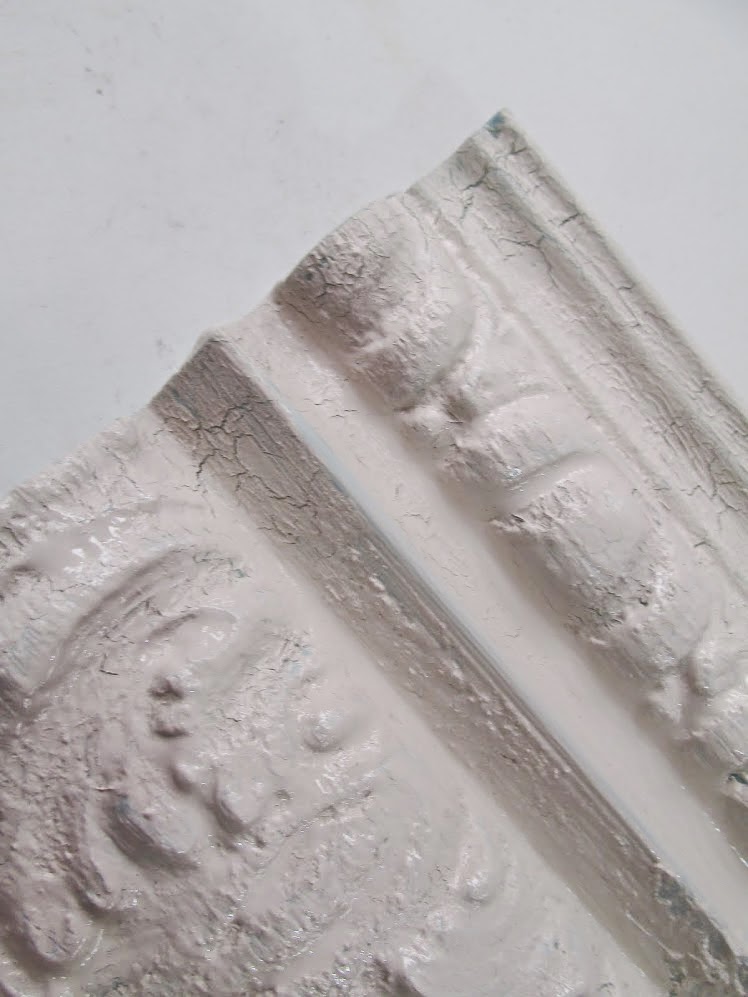


As the cracked patina begins to dry, the paint will begin a cracking effect.
Once this has become over majority of the piece, use a dry brush to begin pull paint.

**It is important that the second One Step color has began to dry.


After breaking up second color of One Step Paint with your brush,
finish pulling the paint with the palms of your hands.


This is my desired amount of removal.

After your desired amount of paint was removed, allow it to dry for up at least 30 minutes.


Once it was dried, apply Clear Wax to your piece.
Use your China Bristle Brush to get 100% coverage of the Clear Wax on your piece.


Then let the wax dry for about 10 to 15 minutes.

Then you will apply your Dark Wax but with a lighter amount than you did your Clear Wax.


You will then apply your Dust of the Ages.

Then you will buff with a t-shirt rag.

After+buffing+went+back+to+add+more+dark+wax..JPG)
**As a side note here, we went back after buffing to add more dark wax for the desired look.
+after+the+dark+wax+touch+up.JPG)
Here is the completed finish!


Create a Luxury Lifestyle, the DIY Way!
i cannot wait to watch paint dry, brilliant!
ReplyDeletelove these tutorials, thank you
debra